
Business verification
Business verification confirms your company details and your role in it. You have to finish it before you can register sender information or send anything for real.
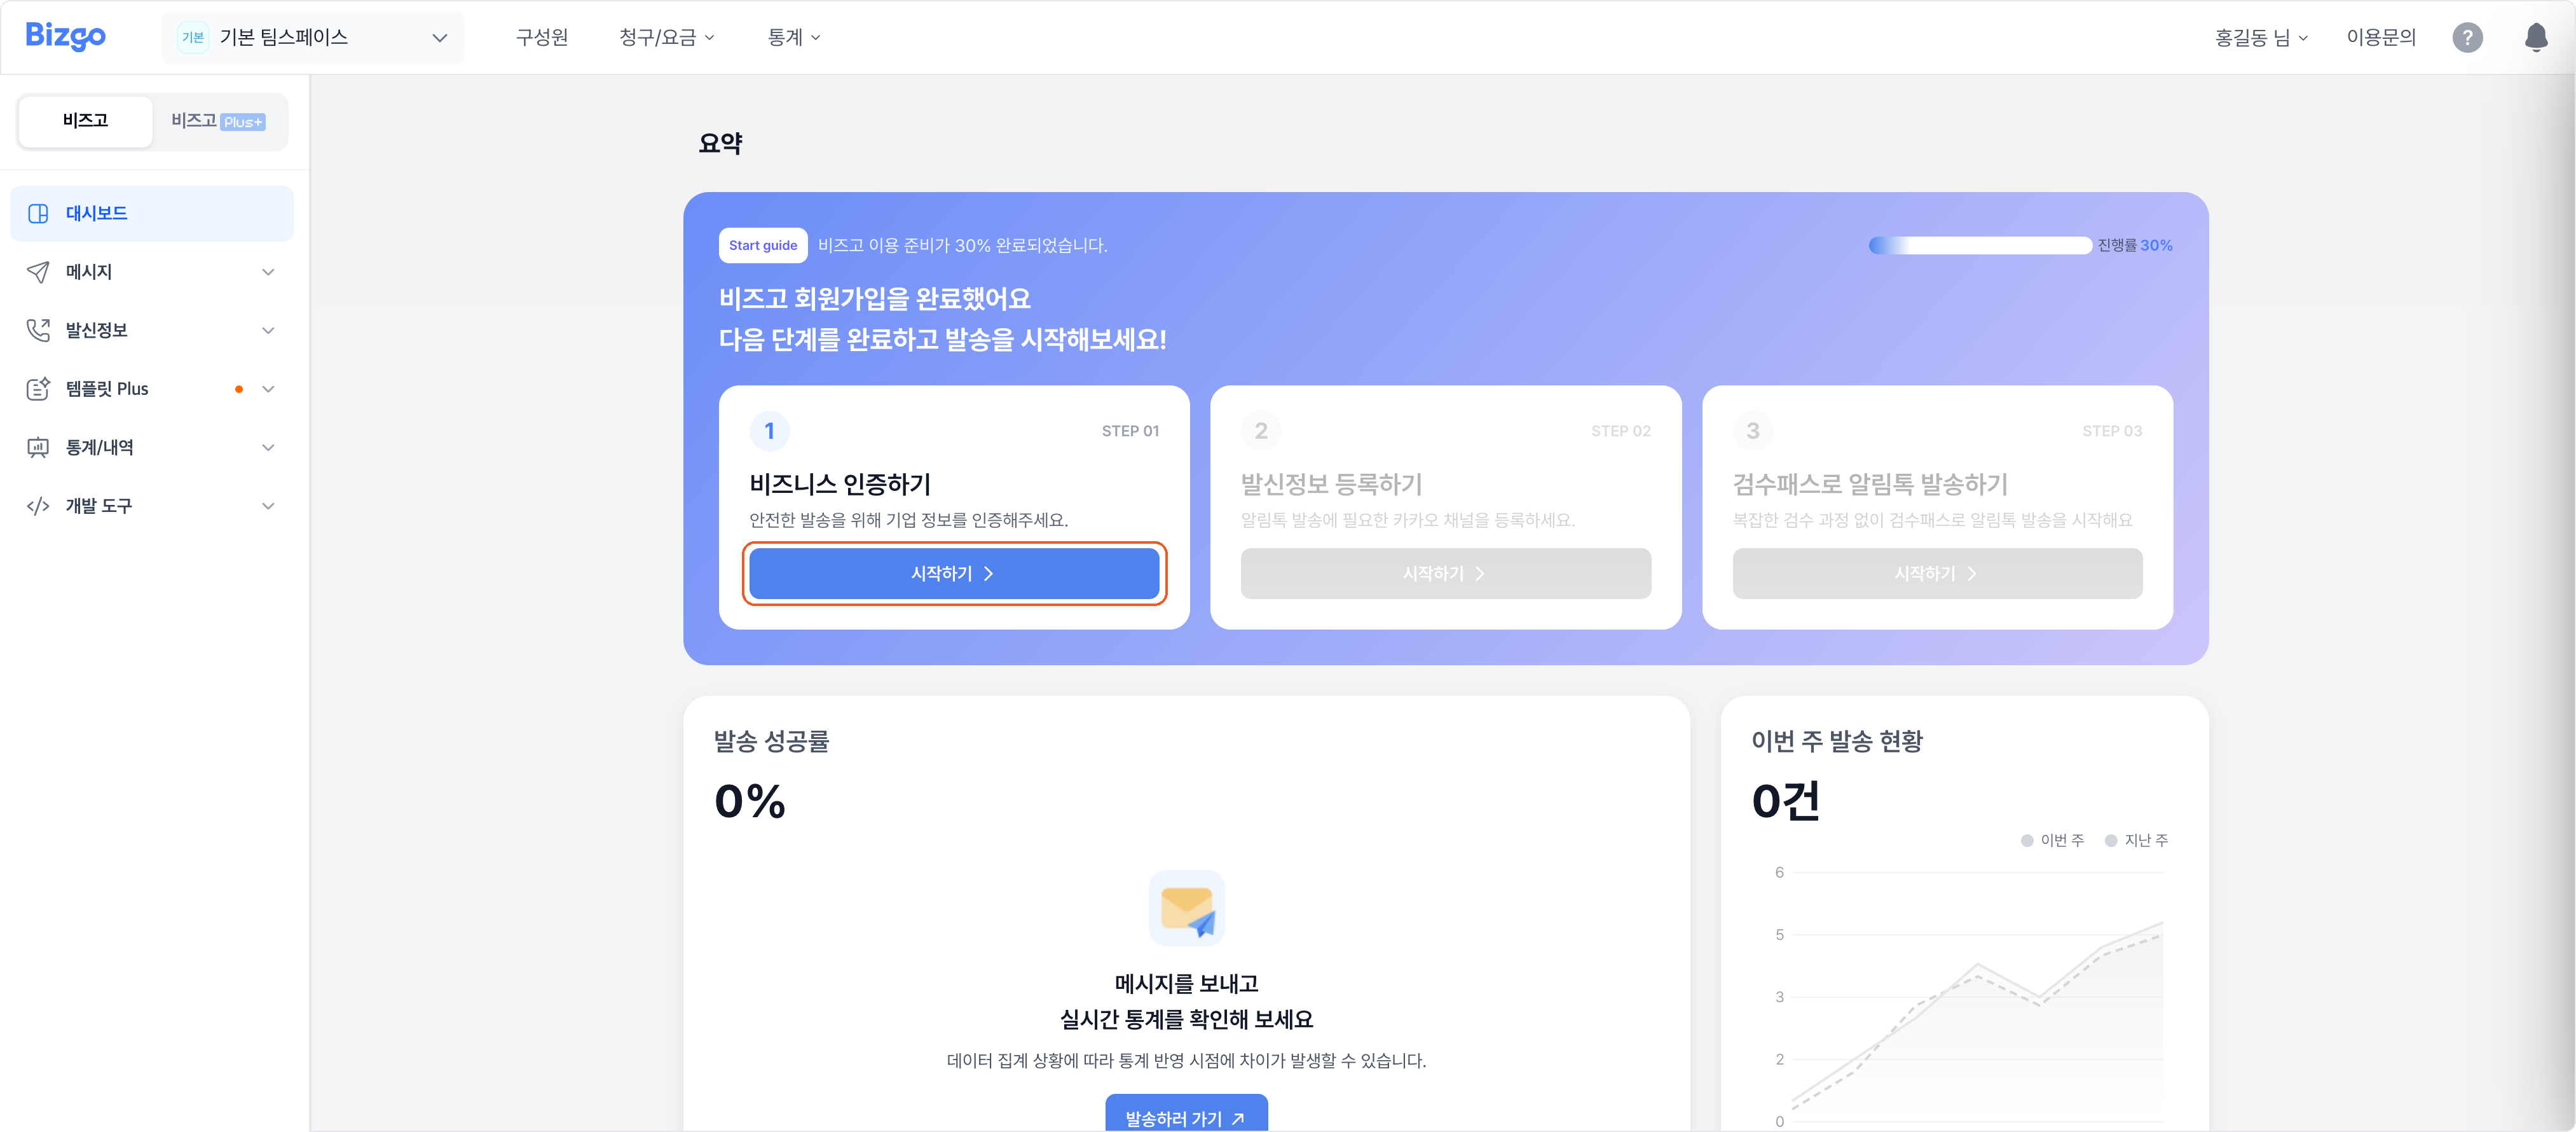
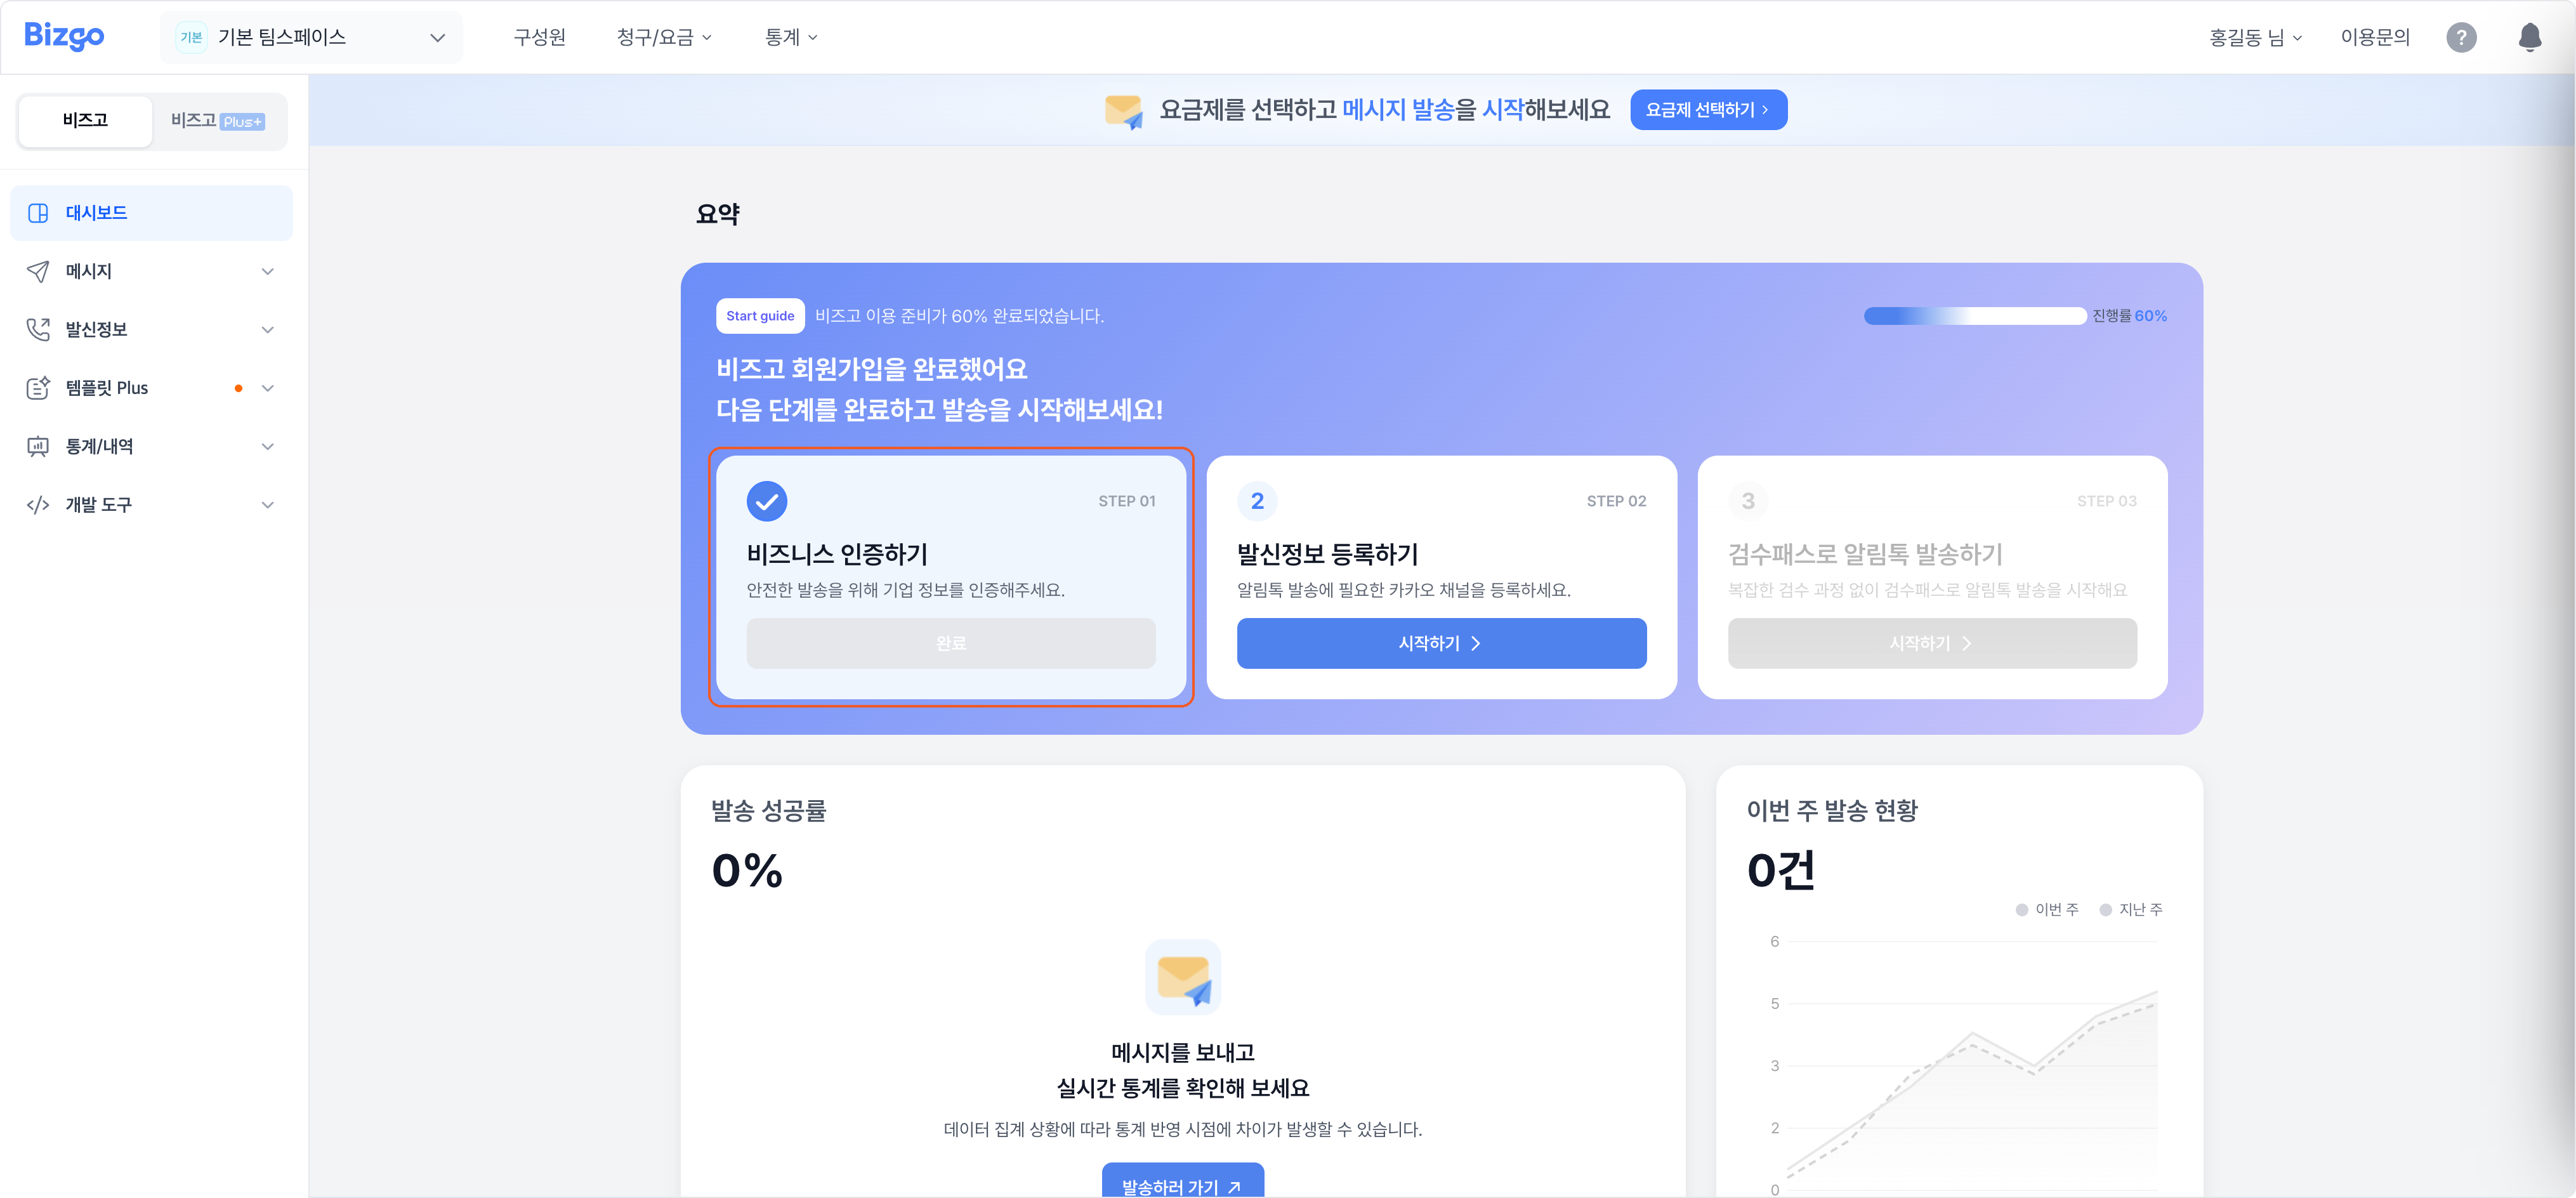
In step 1 of the onboarding widget on the dashboard, click Get started, then Start business verification.
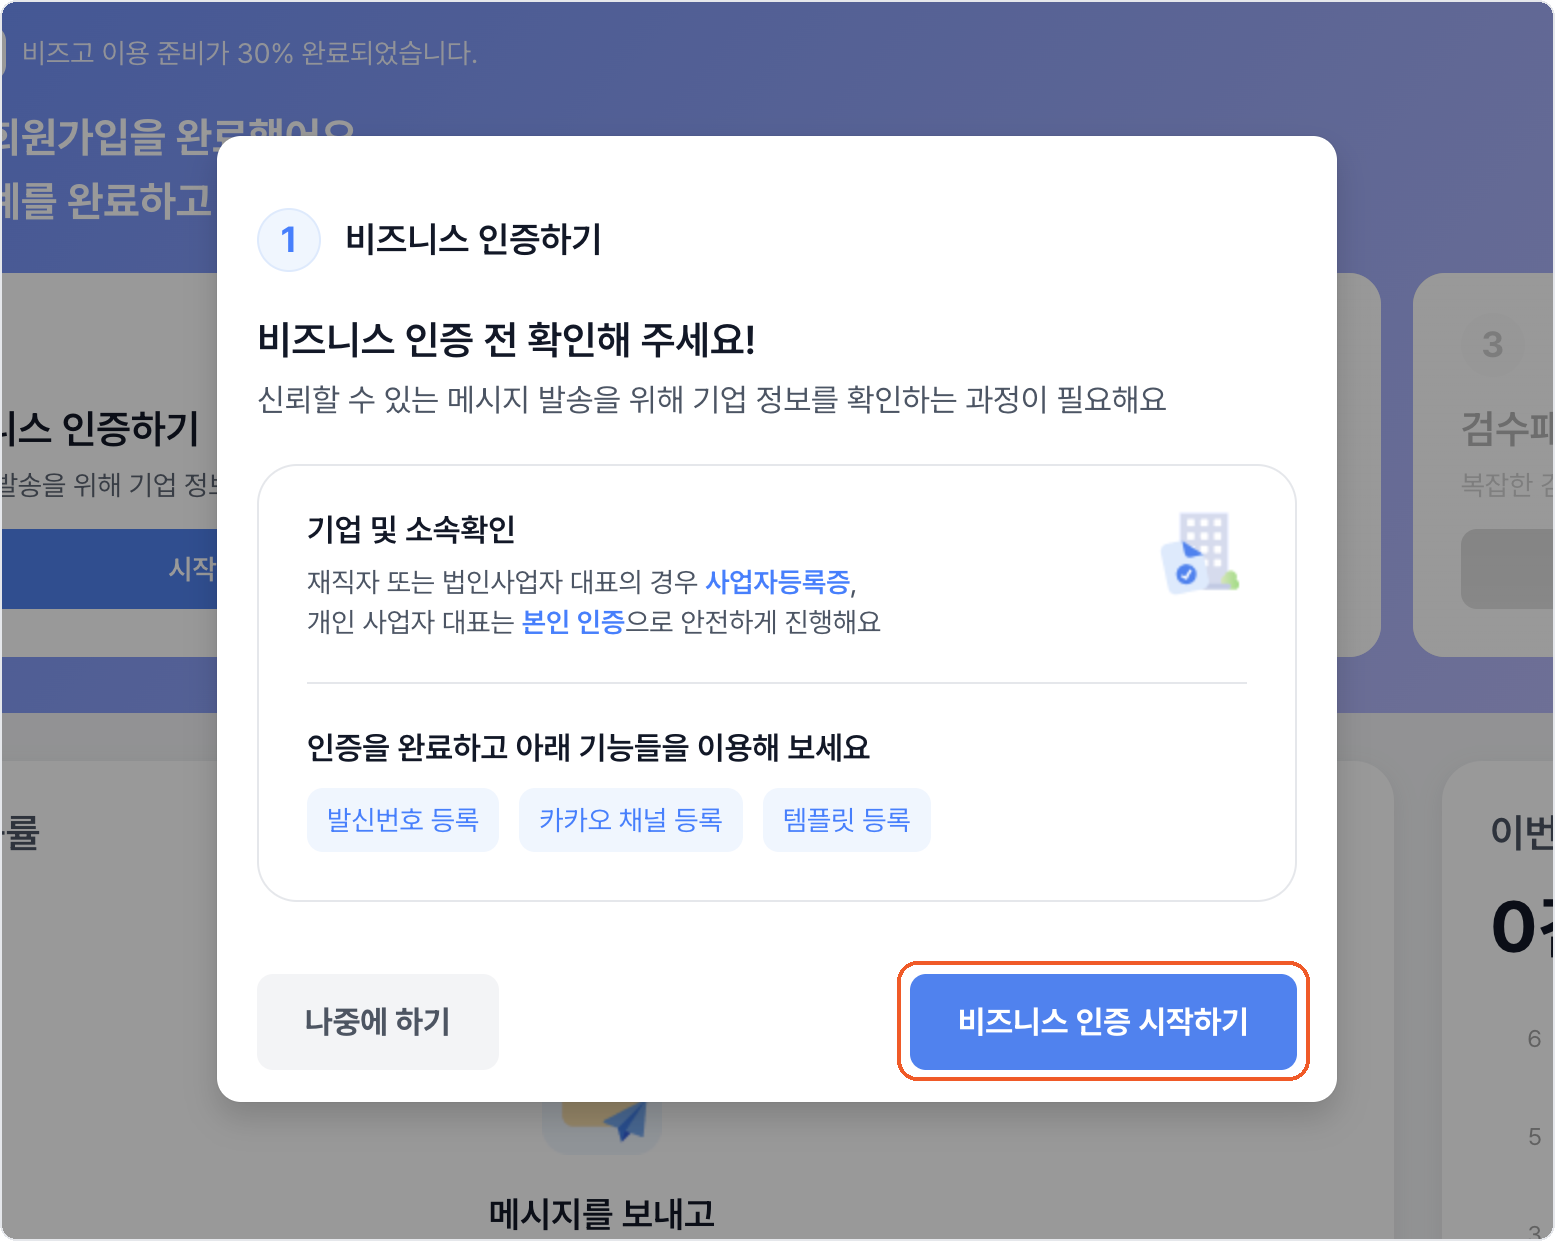
Have these ready
Keep the mobile phone you will verify with at hand. Employees and representatives of incorporated businesses also need a copy of the business registration certificate.
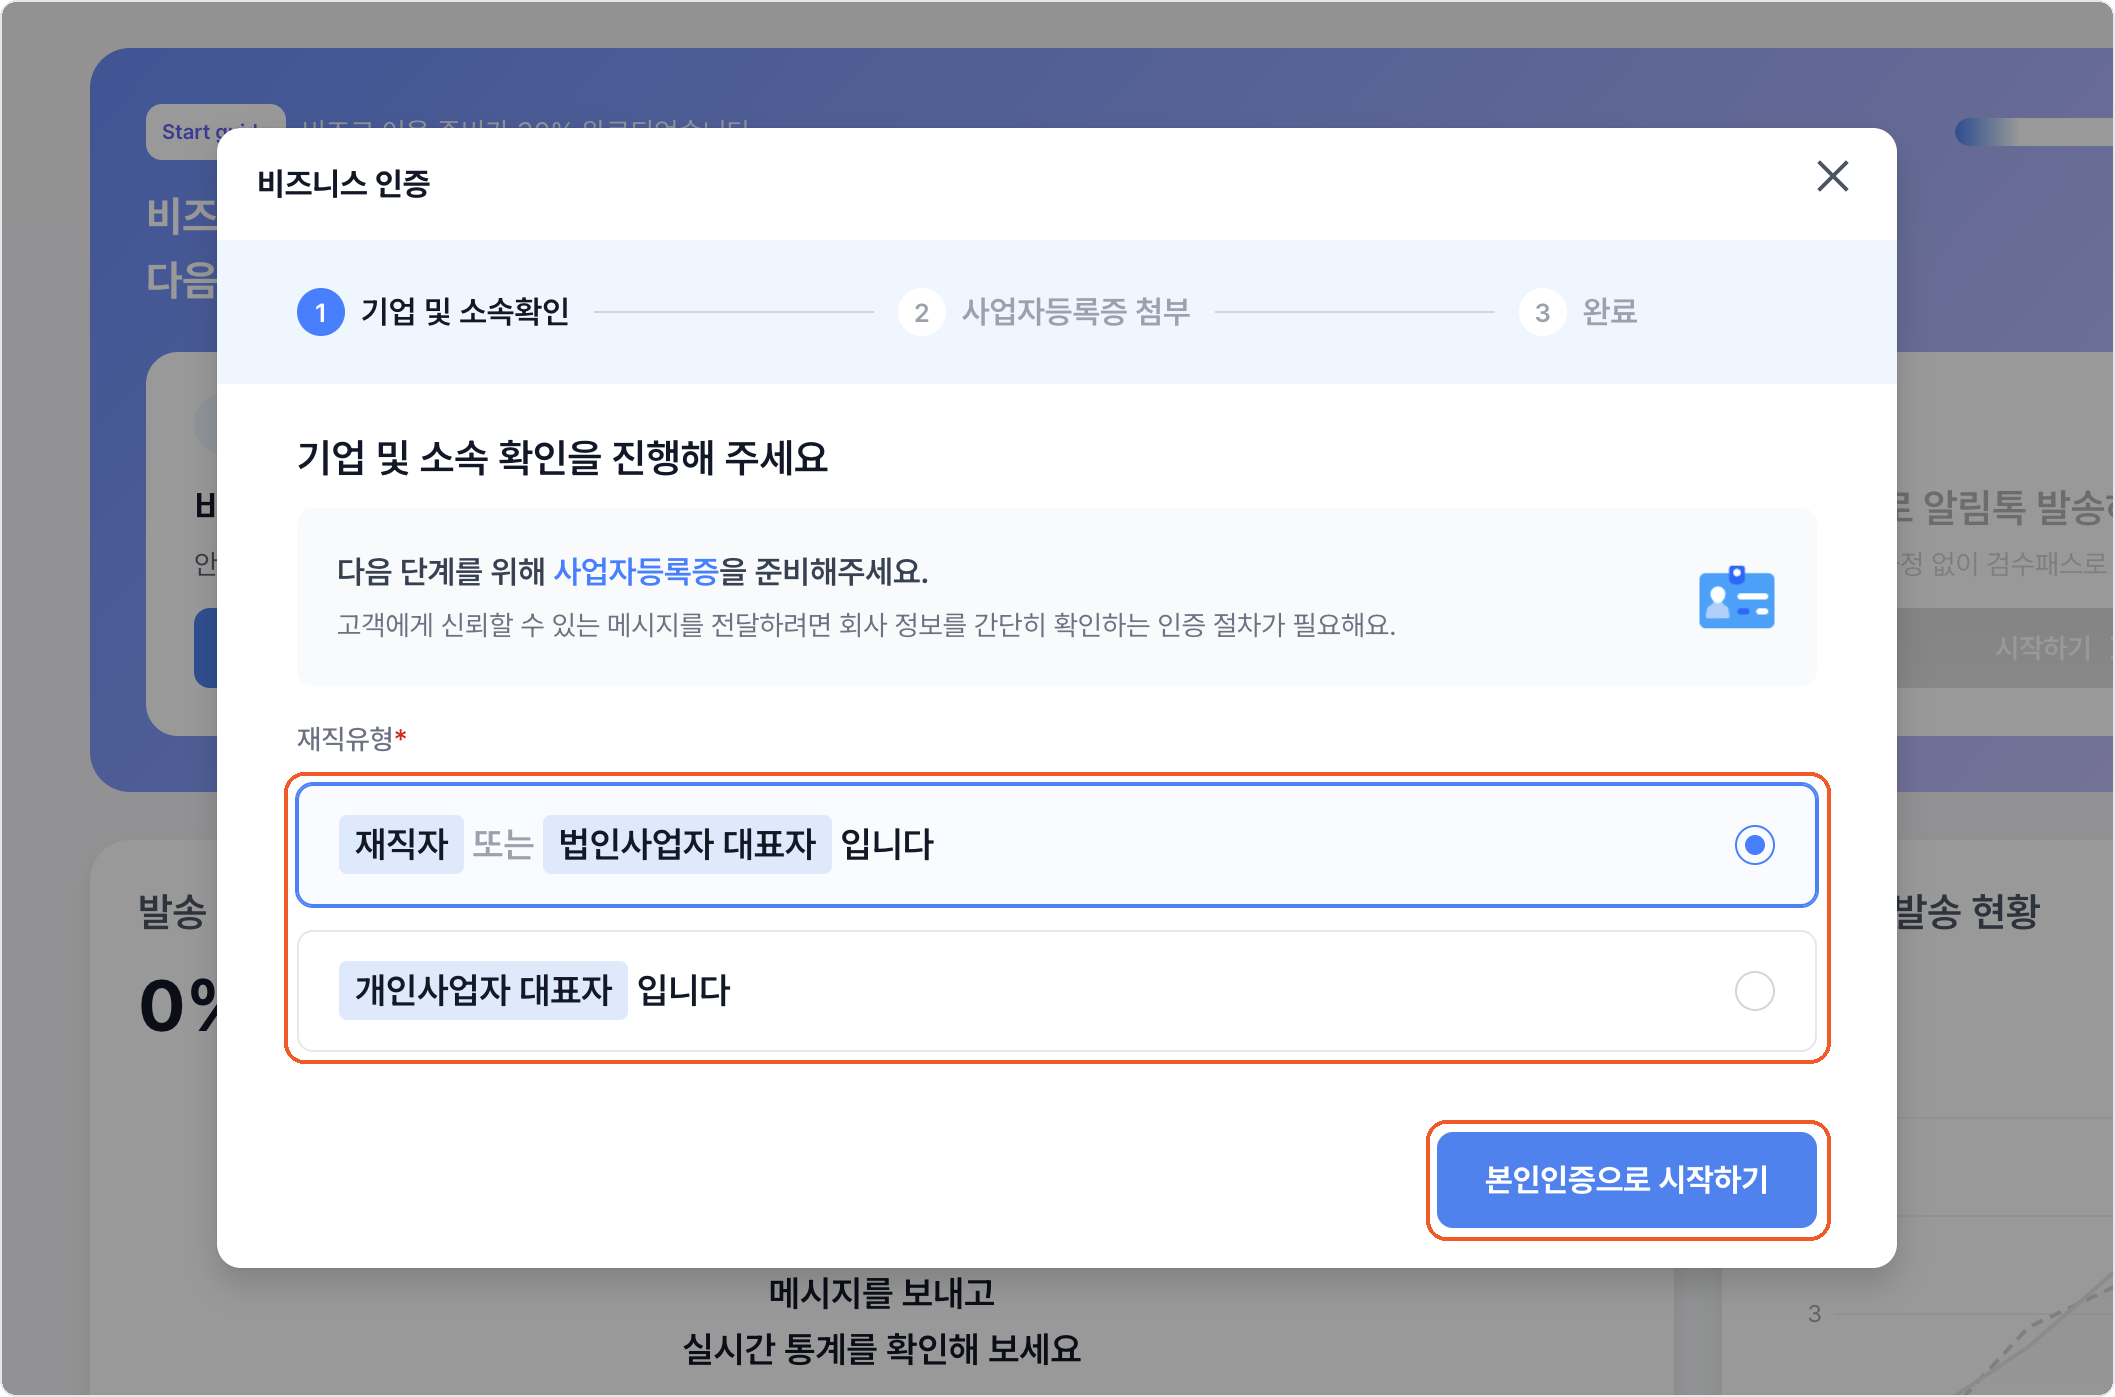
1. Choose your employment type
Choose the employment type that applies to you and click Start with identity verification.
2. Verify your identity
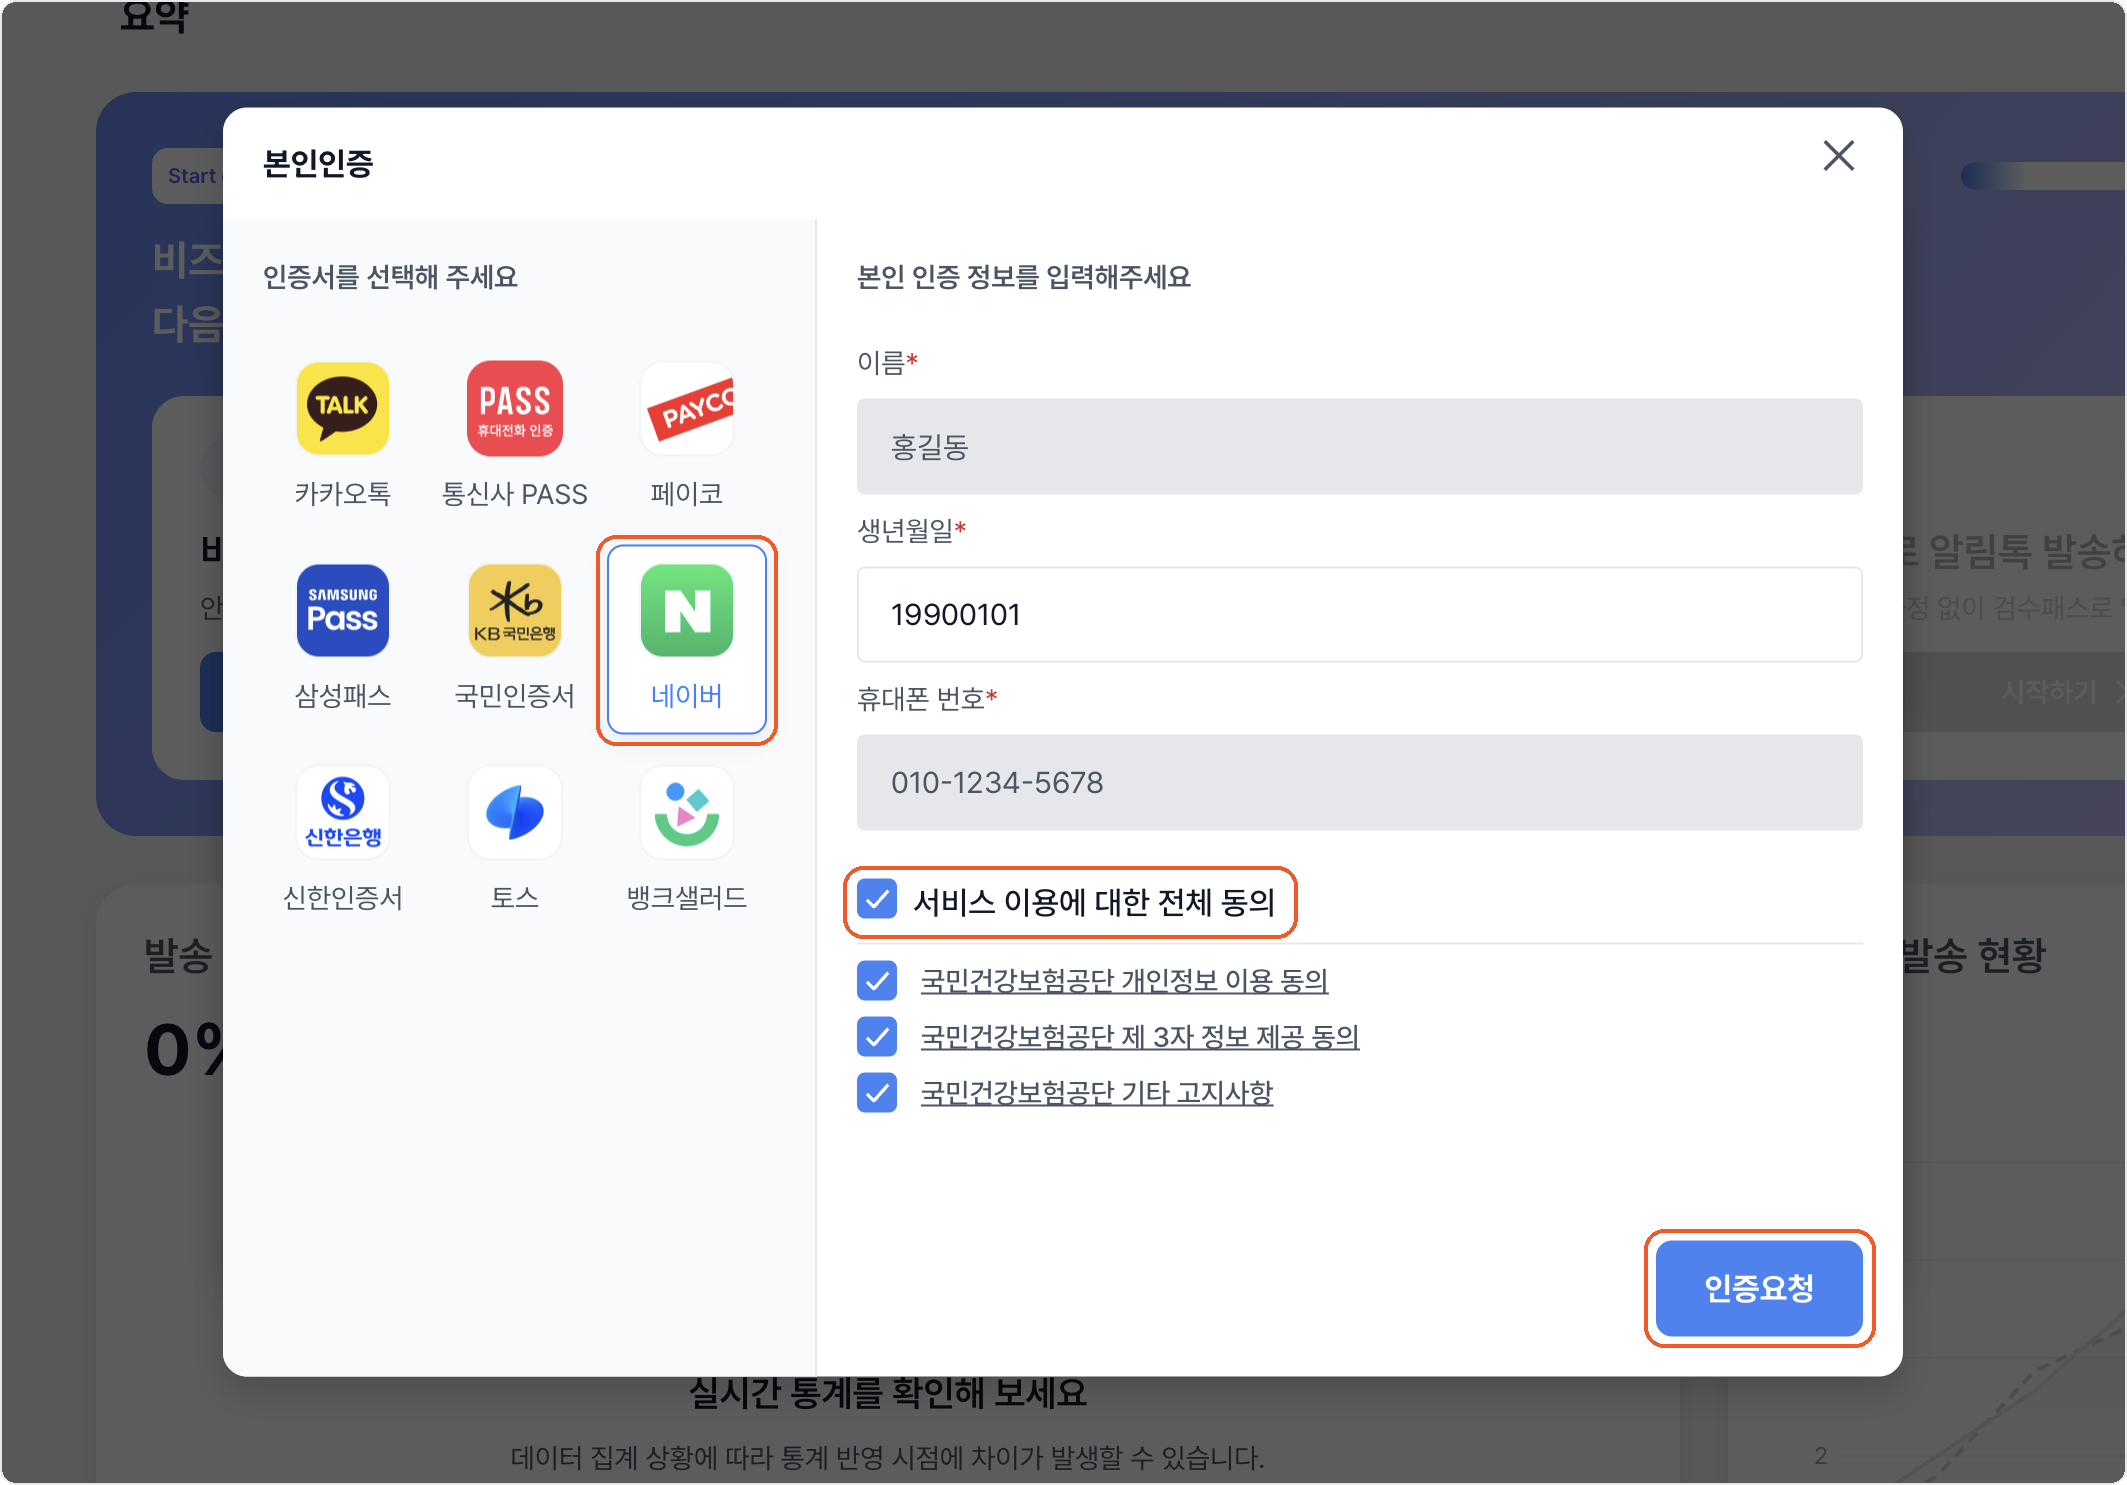
Choose a certificate provider and confirm your name, date of birth, and mobile number. Review the consent items, click Request verification, finish verification on your phone, then click Verification complete.
If the verification request never arrives
Check that you are signed in to the certificate app you chose.
3. Attach the business registration certificate
Employees and representatives of incorporated businesses click Upload file to attach their company's business registration certificate, then click Submit. Sole proprietors proceed with identity verification alone.
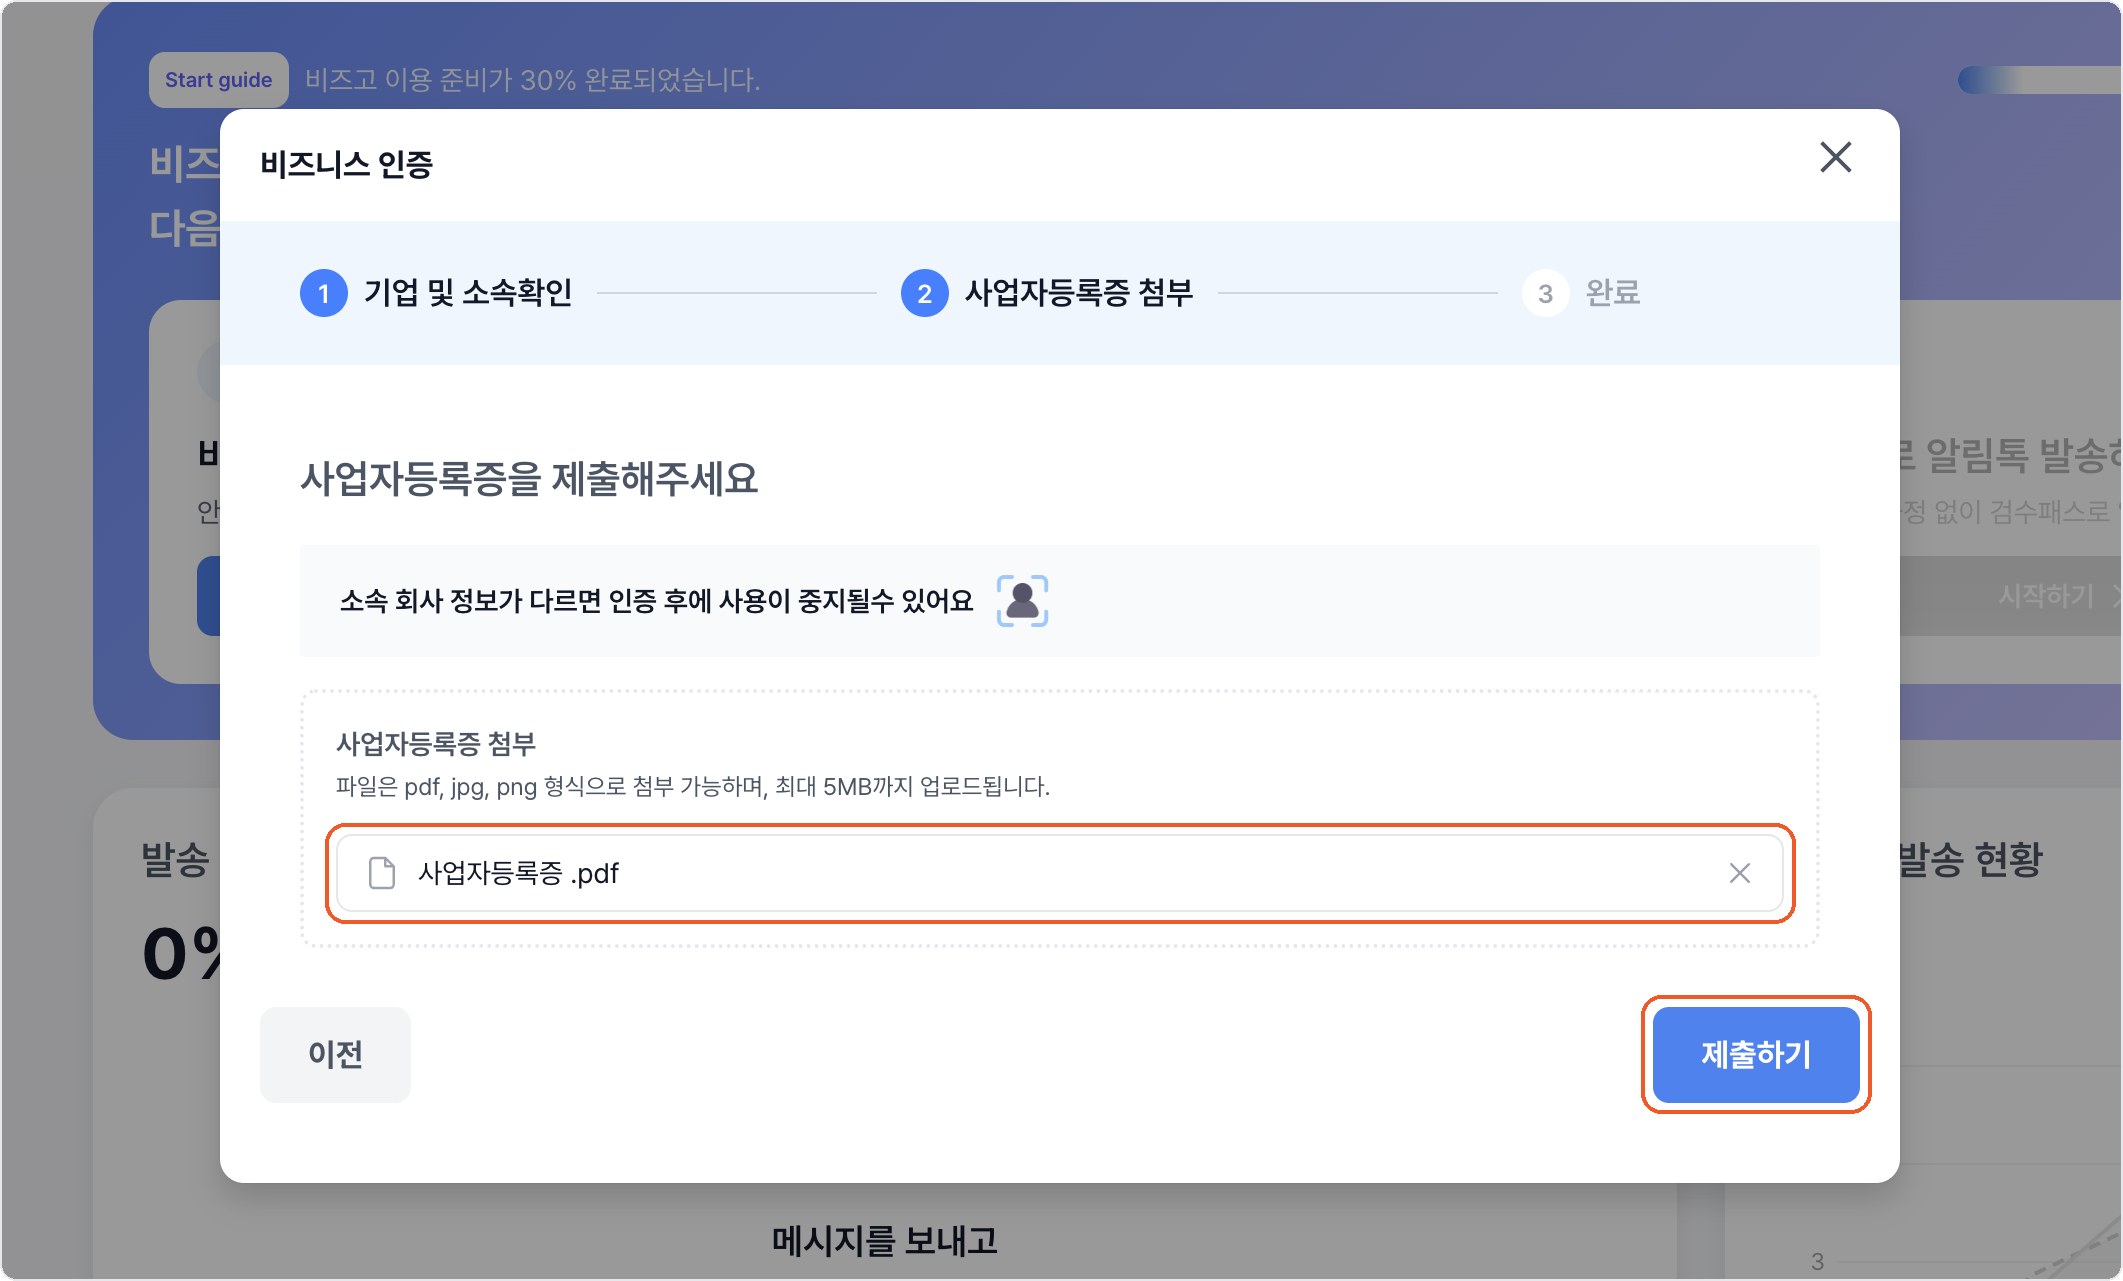
Mismatched documents cancel the verification
The certificate can be PDF, JPG, or PNG, up to 5MB. If the verified business and the attached document do not match, the verification can be cancelled or your service suspended.
4. Confirm the result
Review the verified company details — company name, business registration number, and so on — then click Confirm. If something is wrong, click The company details are incorrect to see what to do.
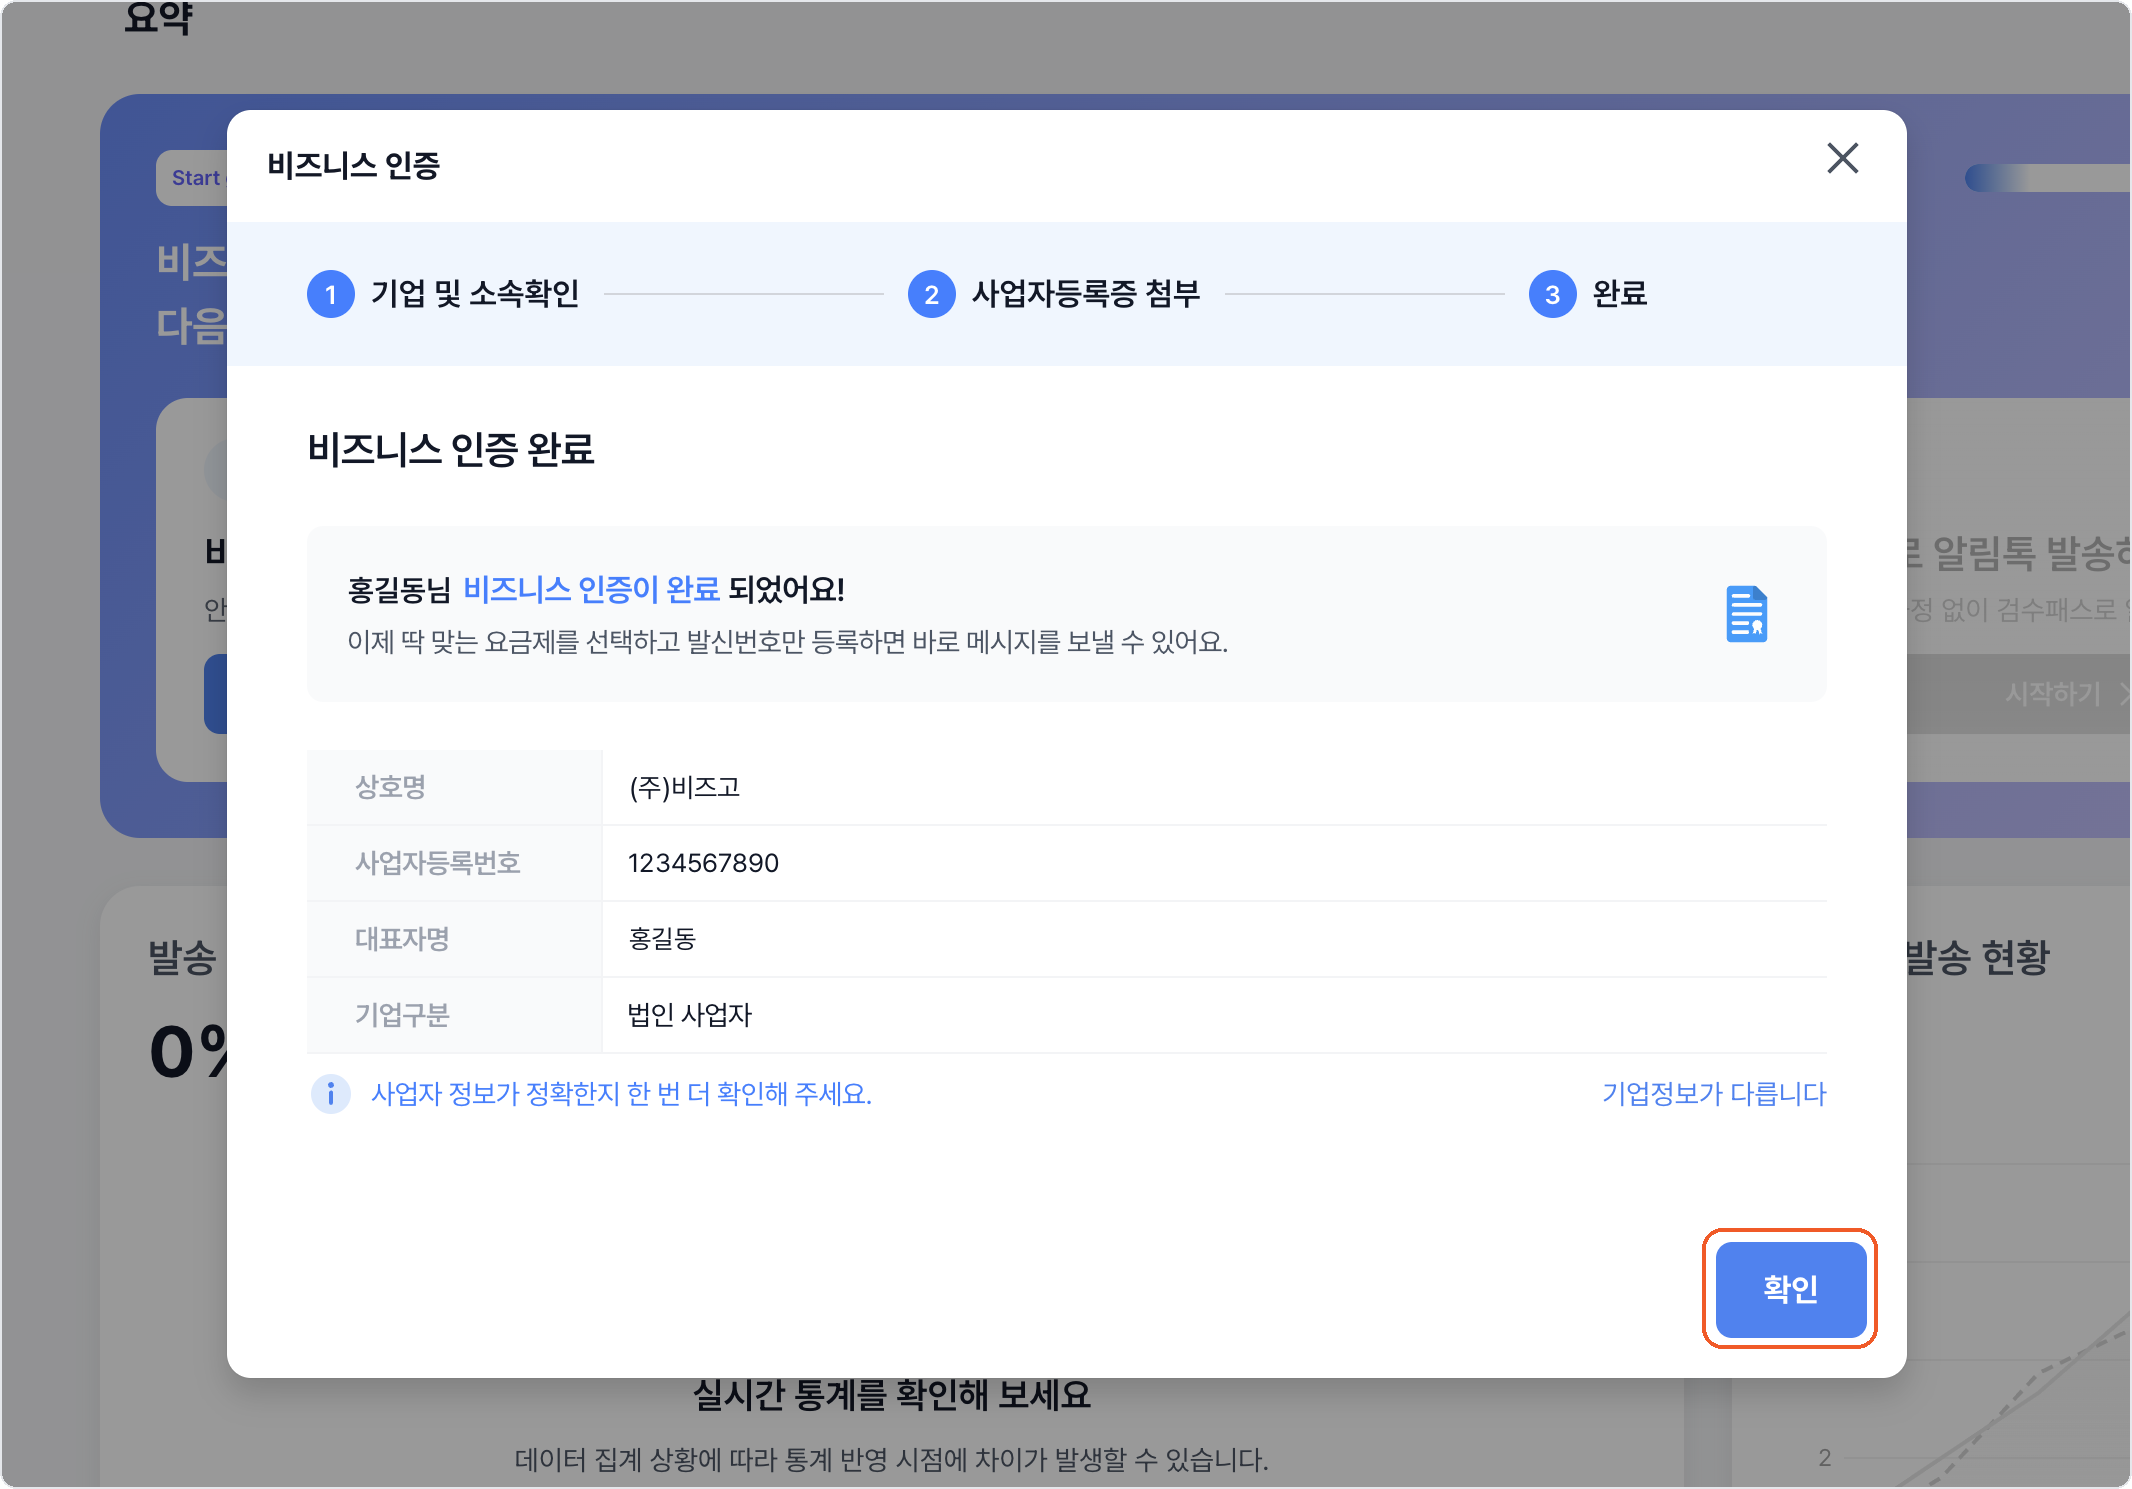
Once verified, you can choose a plan and register sender information.
Next
- Registering a sender number → Register an SMS sender number
- Your plan → Check your plan
- Getting ready to integrate → Issue and manage API keys